Wood fired kiln
For years I had been dreaming about building a wood fired kiln and even bought a pile of fire bricks that ended up sitting in my garden covered in moss and weeds. But early 2009 I decided that the time was right. Wood firing seemed like a natural progression to my work with shino. Shino is very well suited to the rhythm of the oxidation and reduction cycles typical for wood firing. And I was also interested in the effects that the ash itself has on clay and glaze.
So I talked to Peter Lange who had been raving about the kiln of his friend in Italy that fired beautifully in just 8 hours while they were sitting in deck chairs feeding the wood into the kiln without even having to get up. It had a dutch oven style fire box and at 30 cubic foot it was a good size, easy for one person to fill and fire. Peter got the plans and we worked out how many bricks I was going to need. A lot more then I had! But I managed to collect them bit by bit, 50 bricks here, 20 bricks there, all different quality, age and manufacturer. I think I must have samples of the entire history of the New Zealand fire brick production represented in my kiln! The difficult bit was that they were all slightly different sizes which made the building more challenging.
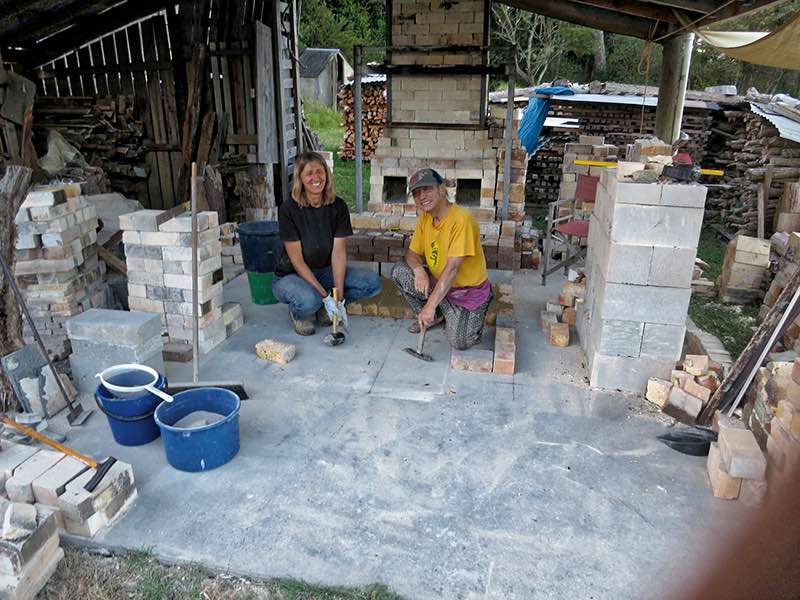
After my sons kindly put down a concrete pad for me I started to build a base out of concrete blocks to raise the kiln up. The idea was to make loading and firing easier on the back! Not a bad idea, after all, we are not getting any younger! In the beginning every step of the building process was discussed at the centre with Peter, Duncan, Lex and whoever else happened to be there. Then I went home and did the work, returning the next week with pictures of my efforts for approval and a new set of instructions. Some bits had to be rebuild as new ideas were tossed around. I was extremely grateful for the level of enthusiasm by everyone!
So I talked to Peter Lange who had been raving about the kiln of his friend in Italy that fired beautifully in just 8 hours while they were sitting in deck chairs feeding the wood into the kiln without even having to get up. It had a dutch oven style fire box and at 30 cubic foot it was a good size, easy for one person to fill and fire. Peter got the plans and we worked out how many bricks I was going to need. A lot more then I had! But I managed to collect them bit by bit, 50 bricks here, 20 bricks there, all different quality, age and manufacturer. I think I must have samples of the entire history of the New Zealand fire brick production represented in my kiln! The difficult bit was that they were all slightly different sizes which made the building more challenging.
After my sons kindly put down a concrete pad for me I started to build a base out of concrete blocks to raise the kiln up. The idea was to make loading and firing easier on the back! Not a bad idea, after all, we are not getting any younger! In the beginning every step of the building process was discussed at the centre with Peter, Duncan, Lex and whoever else happened to be there. Then I went home and did the work, returning the next week with pictures of my efforts for approval and a new set of instructions. Some bits had to be rebuild as new ideas were tossed around. I was extremely grateful for the level of enthusiasm by everyone!
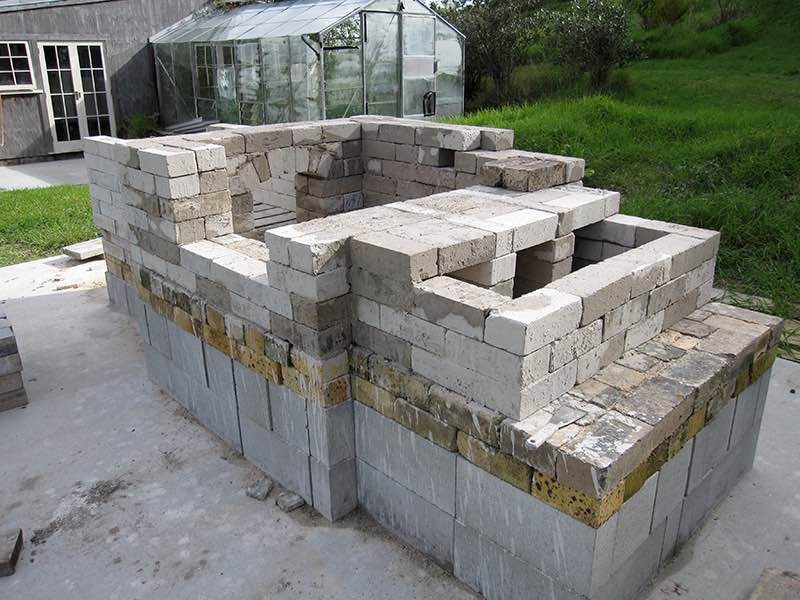
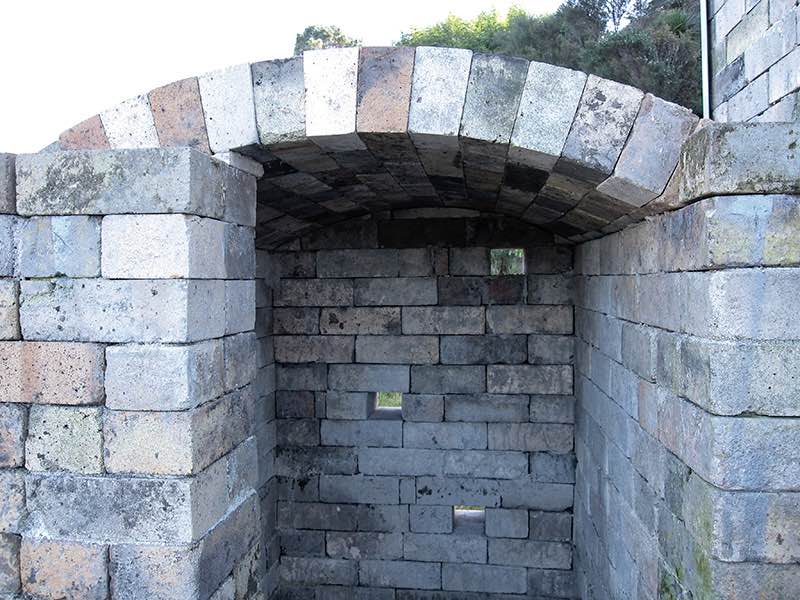
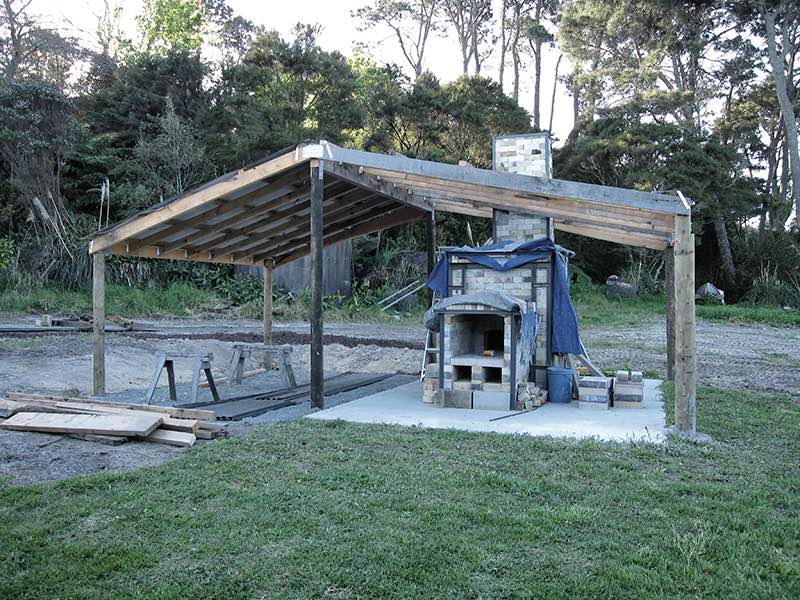
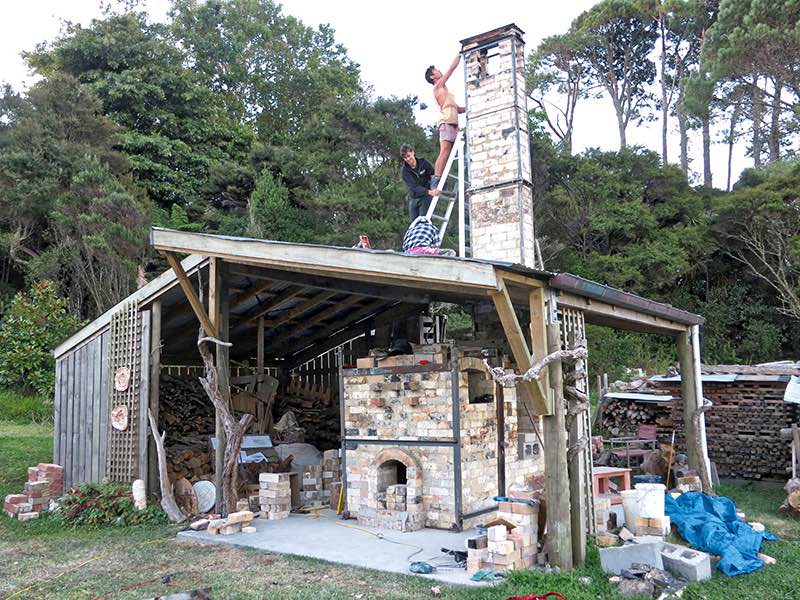
Once the base was finished Peter used his brick building computer program to design the kiln and email me step by step instructions. He also calculated the angle of the arch-bricks and very kindly cut them for me at his workshop at Corban’s art centre. My son helped me with the steel work, doing all the welding for me. The arches went up without any trouble, much easier then I thought. Amazing things, these arches! The final challenge was building the roof and wood storage. I had never done any building before so that was a whole new learning curve. But we managed, my son suggested we start a business called ‘ The Crooked Building Company’. I guess that says it all about our skills in that field!
The kiln worked extremely well, firing to 1300C in about 12 hours with a good amount of ash on the pots for such a short firing. Thank you, Peter!
Later in 2009 I accompanied Peter and a few other potters from ASP to Dehua, China where we build an almost identical kiln to my one. It was a wonderful experience!
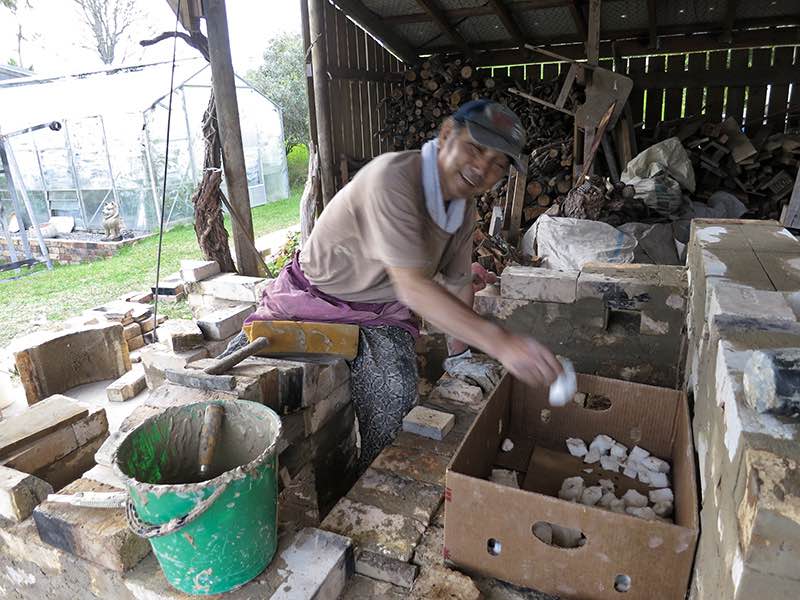
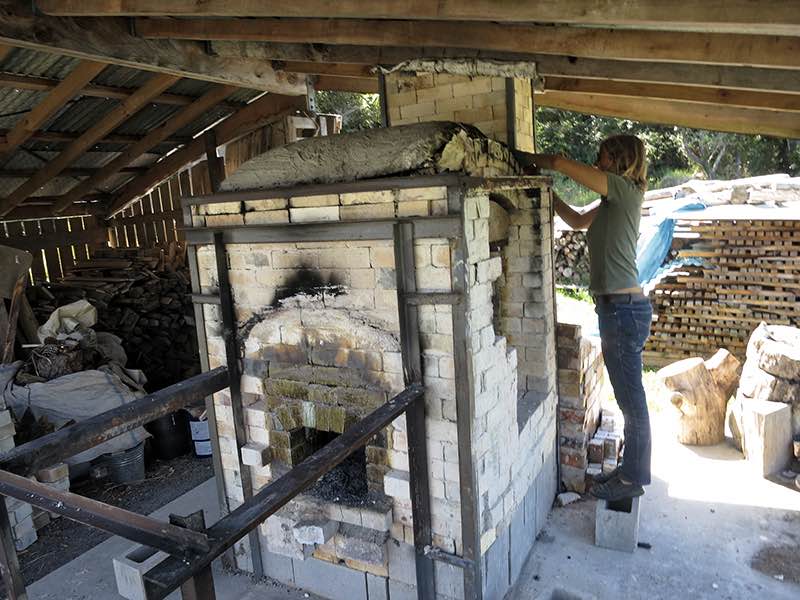
In 2014, after well over 50 firings, the throat arch of my kiln was threatening to collapse. So with the help of my friend, the japanese kiln builder Masakazu Kusakabe we rebuild most of the kiln changing the design to Kusakabe’s famous smokeless kiln design. We made few changes to the kiln chamber but changed the fire box from a dutch oven to a Bourry box and extended the hight of the chimney.
Elena Renker
Ceramics / Pottery
Auckland, New Zealand
© 2016 renker